


Registering a Questionnaire
Registering a Questionnaire
Preparing an outline
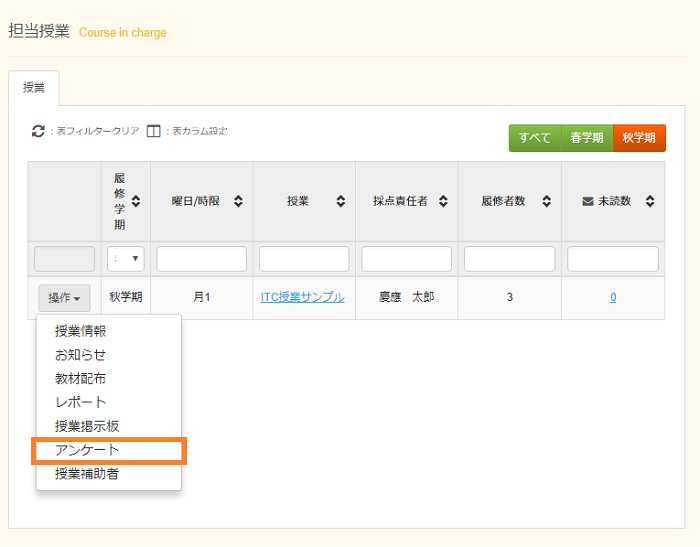
From [Operation] box of the object class, select [Questionnaire].Or, please select class name and [Questionnaire] tab.
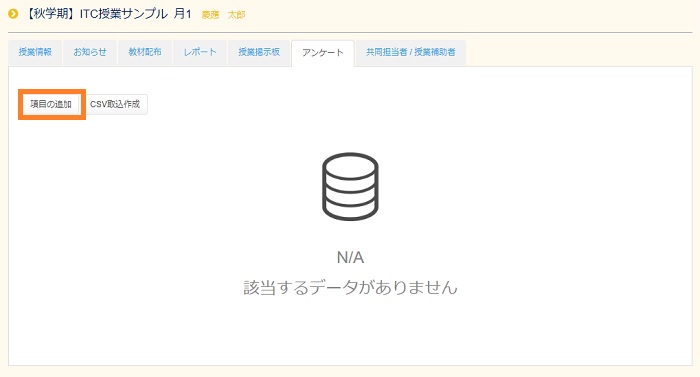
If the questionnaire is not registered, the following screen is displayed.Press [Add Contents].
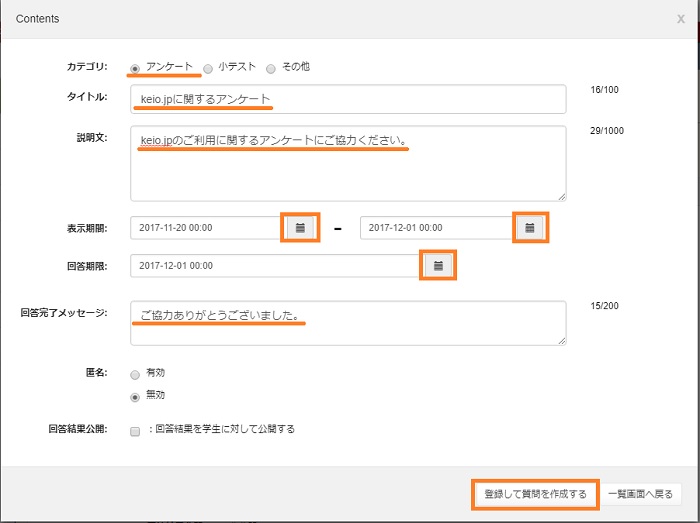
You can make overall settings for the questionnaire here.
- [Category]
- Select a form from Questionnaire, Quiz, or Other.As an example, select Questionnaire.
- [Title]
- Enter the title of the Questionnaire to be displayed to the answerers,similar to "questionnaire concerning-- ".(Limit of 100 characters)
- [Explanation]
- Enter the contents and purpose etc. of the Questionnaire.(Limit of 1000 characters)
- [Display Period]
- Enter the period the Questionnaire displayed.Placing your cursor on the box beside Start or End displays Calendar, so select dates.Enter the times in the boxes beside the date.(Can be set in 1 minute units.)
- [Reply period]
- Enter the dates and time as instructed above.(Can be set in 1 minute units.)If the Questionnaire display period will continue after the reply deadline, you can display the contents of the Questionnaire during the period.
- [Finished message]
- Such as [Thank you for your cooperation to the survey.] or [Thank you for your entry.], enter a message that will be displayed after a response has been completed.
- [Anonymity]
- Select either to allow anonymous responses (Enable) or to make respondents enter their names (Disable).
- [Status]
- Check if answer results will be released to the respondents (students).
After entry to here, press the [Fix and Create questions] button, then prepare each question.
(To stop registering the Questionnaire, press [Back to Course Settings].)
Preparing questions
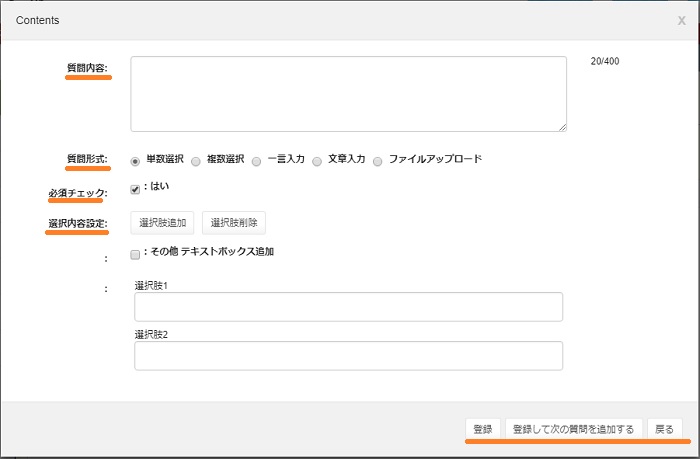
The Contents setting window opens.
- [Question]
- Enter the question text.(Limit of 400 characters)
- [Form]
- Select one of 5 forms of questions: Single selection, Multiple selection, Simple sentence, More than one sentence, or File upload.
- [Required item]
- Enter a check on [Yes] to a question that must be answered.
- [Item setting]
- The display varies and the contents of the settings differ according to the [Form] selected above.
- [Register]
- Press when you have completed setting questions.
- [Fix and add other question]
- Press when continuing to set another question item.
- [Back]
- Returns to the previous screen without registering the question.
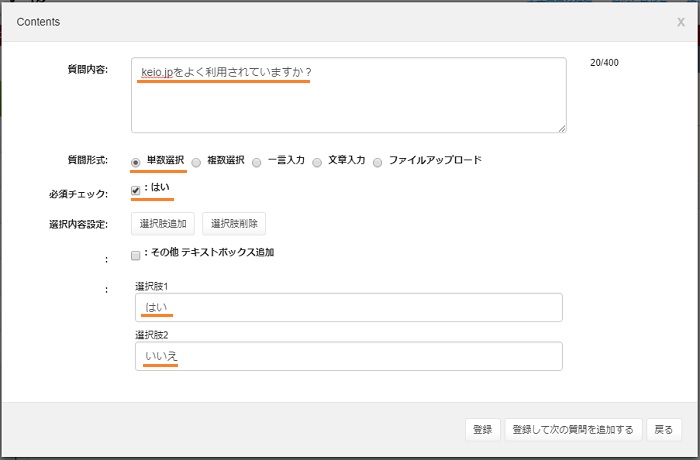
Single selection
This is the method that lets respondents select only one answer from a defined list of choices.Enter the text of the choice.
If you want to increase the number of choices, click [Add item].If you want to decrease the number of choices, click [Delete item].
If you expect responses other than those in the list of choices, enter a check by [Option - Add text box] to allow respondents to enter a separate response in text form.
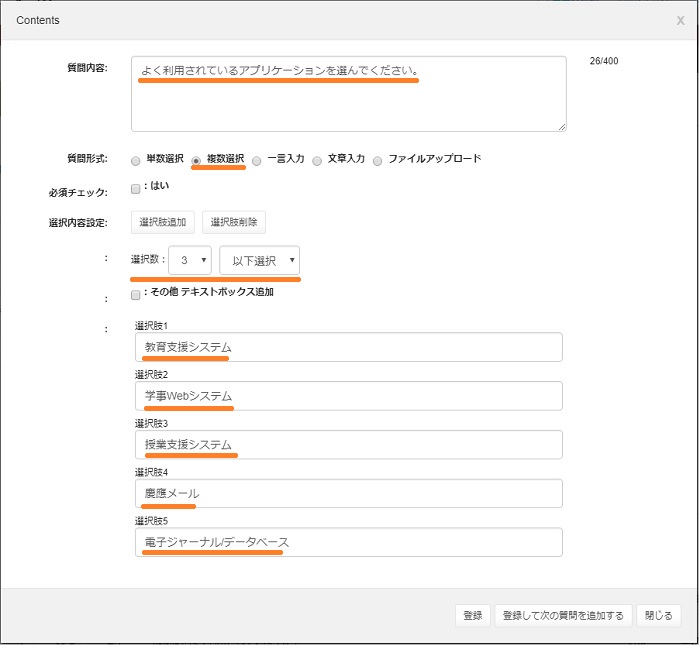
Multiple selection
This is the method that lets respondents select more than one answer from a defined list of choices.[Number of choice] box is added to the single choice box.
Select one number up to the number of choices in the box to the right side of [Number of choice].(Adding a choice raises the number.)
In the box on the right side, choose [or more choice], [or lower choice] or [choice].(You cannot select "from to ")
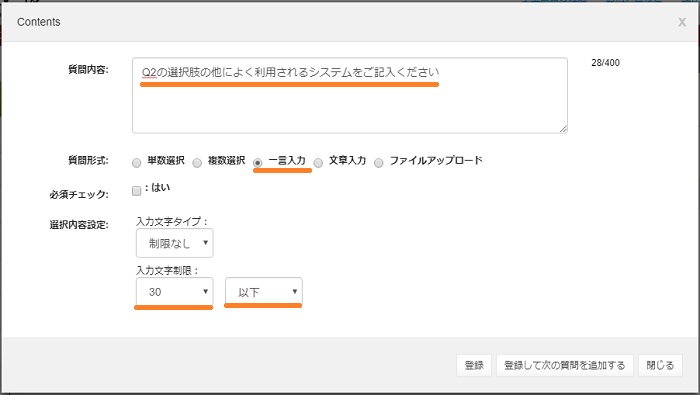
Simple sentence
This is the method that lets respondents enter the response as a short sentence.In [Character type] select [All], [ASCII numerals], [ASCII alphabet], or [ASCII alphabet/numerals].
[Length limit] sets the number of characters.
Select [10], [30], [50], or [100] from the box to the right of [Length limit].
In the box on the right side, select [equal to or lower than], [equal to or higher than] or [character(s) digit(s)].
More than one sentence
This is the method that lets respondents enter a long sentence.
Items are identical to those under [Simple sentence], but the values that can be set differ.
In [Character type] you can only select [All].
Select [100], [200], [300], [500], or [800] from the box to the right of [Length limit].
The boxes on the right are [equal to or lower than] and [equal to or higher than].

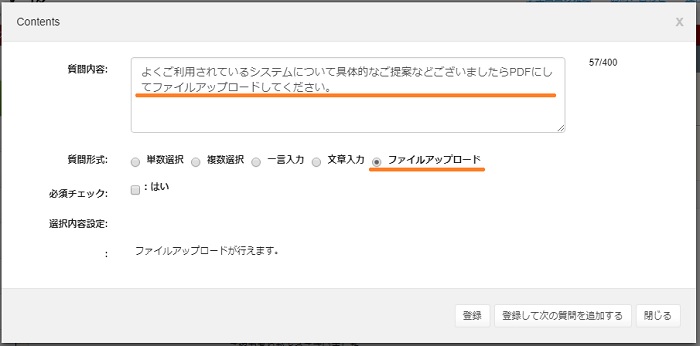
File upload
This is the method that lets respondents upload files in a variety of formats such as photo or voice etc.There are no items to be entered other than Question.
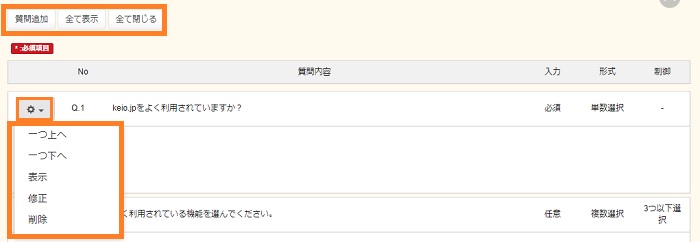
[Register]: Pressing this button displays a list of the questions.The various buttons are explained below.
- [Add Question]
- This can add a question.
- [Display all]
- [Contents] of choices of questions is displayed.(Default: this display)
- [Hide all]
- Only questions are displayed; [Contents] of choices etc. are not displayed.
The [Operation] of each question (gear mark) is explained.
- [Up]
- This can move the question up one position.
- [Down]
- This can move the question down one position.
- [Display]
- It is a toggle switch that can alternate between displaying and not displaying the contents of each choice that is entered.
- [Modify]
- This can modify a question.The Correction Manual explains this.
- [Delete]
- This can delete a question.The Deletion Manual explains this.
Registration
When the relativity check has been set, please look here.Press [Confirm], when you have completed setting a question.
(Press [Back] to stop preparation of the Questionnaire.)
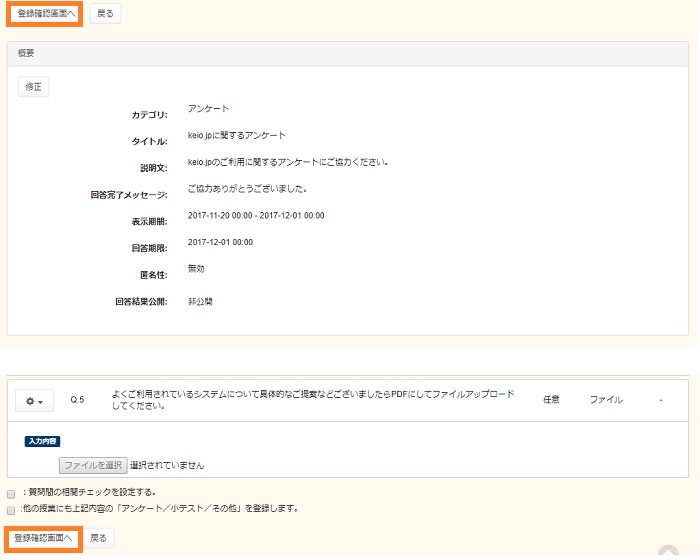
Check the contents, and if there is no problem, press [Register]. (If there is a problem, press [Back] and modify it.)
Email notification is available during registration. See the email notification feature for details.

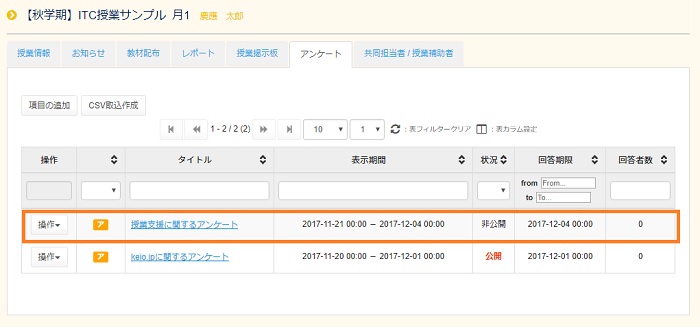
Check to make sure that it is added to the [Questionnaire/Mini test/Other] box.

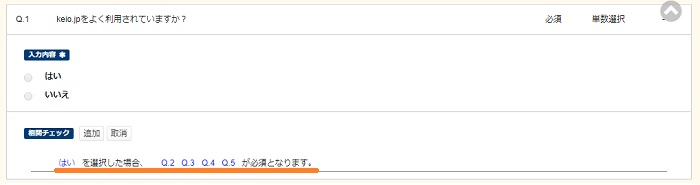
Setting the relativity check
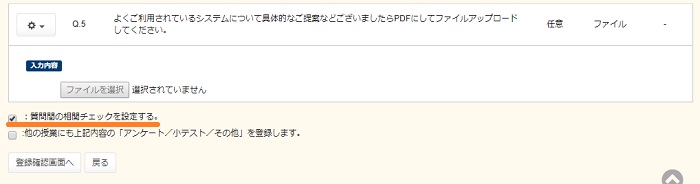
In the case of a question with choices where you want to require a response to another question only when a respondent has chosen one specific response, set a correlation check.
Entering a check at [Set the relativity check] on the bottom of the screen then pressing [Confirm] displays the "Set the relativity check" screen.
And you can set complex correlations between questions by setting the relativity check as multiple.
The [Relativity check] box is displayed under a question with choices, so press [Add] to display the [Relativity check] window.(* You can add multiple relativity checks.
When a select specified under the [Item] box has been selected, the respondent must answer another question specified (highlighted) under the [Contents setting] box.Pressing [Register] sets the relativity of the questions.
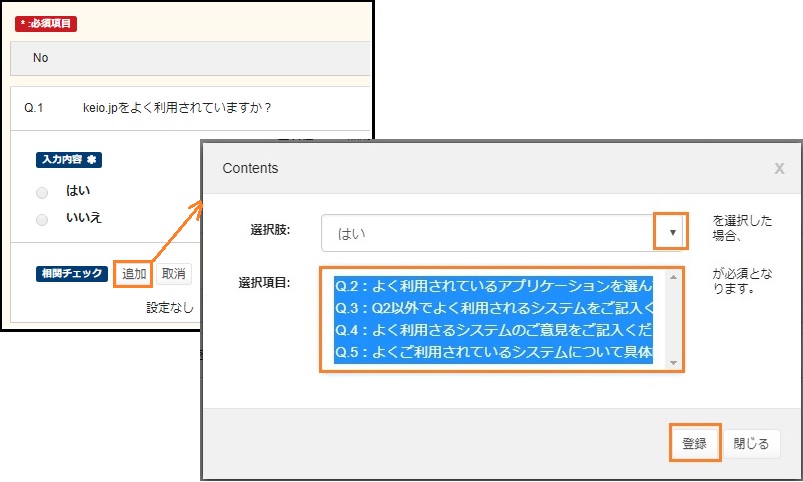
Setting the relativity check is completed as shown below.When you press [Cancel] in the [Relativity check] box, the relativity that has been set is cancelled.
Importing and preparing CSV (Including retrieving CSV)
For example, preparing a Questionnaire with the same contents using GUI is time-consuming.
So there is a function that imports a CSV file prepared by Excel etc.and registers it as a Questionnaire.
Import CSV
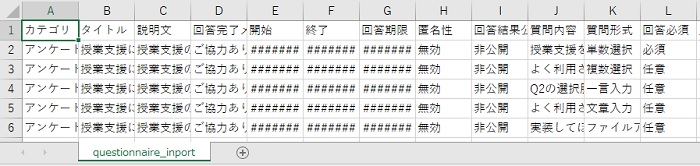
The following is the format of a CSV.(2nd line is a sample setting)
| Category | Title | Explanation | Finished message | Start | End | Reply deadline | Anonymity | Status | Question | Form | Required | Character type | Length limit | Number of input characters comparing |
| Questionnaire | test | test | test | 2012/11/1 8:00 | 2012/11/30 17:00 | 2012/11/29 16:00 | Disable | Closed | test | More than one sentence | Required | 100 | equal to or lower than |
Prepare the CSV file using Excel etc. in the above format.
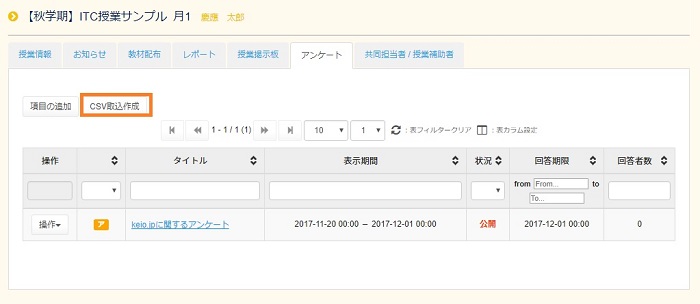
After the CSV file has been prepared, click [Import CSV date] on the Questionnaire top screen.
The [Import CSV data] screen opens.Press the button [Select a file] beside [CSV File]
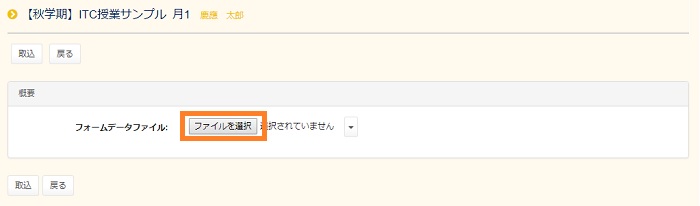
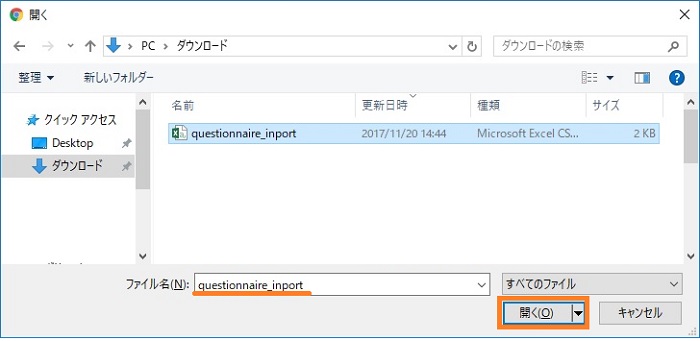
Select the CSV file to import using [Select file to upload] and press [Open].
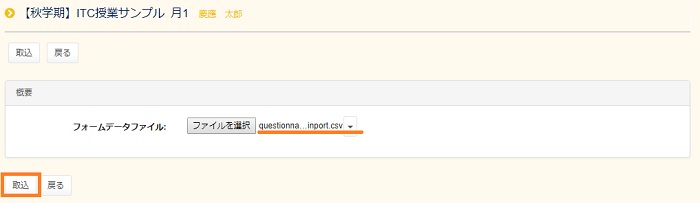
Confirm that the file name is displayed in the frame of [CSV File] and press the [Import] button.
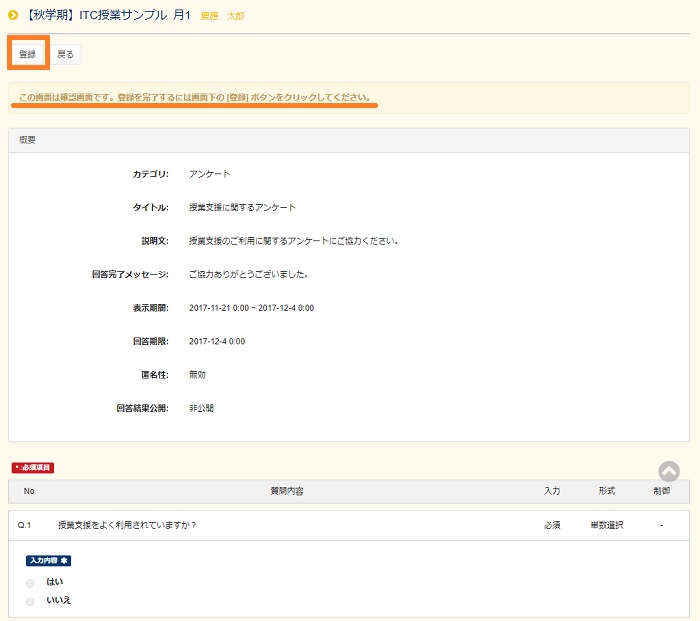
The [Registration] screen opens.After confirming imported contents and finding no problem, press the [Confirm] button.

Check the contents, and if there is no problem, press the [Register] button on the lower left of the screen.
Email notification is available during registration. See the email notification feature for details.
This registers the Questionnaire.
2. Reusing a retrieved CSV
You can retrieve a Questionnaire that has already been registered as a CSV file, and add revisions using it as a model, then register it as a new Questionnaire.
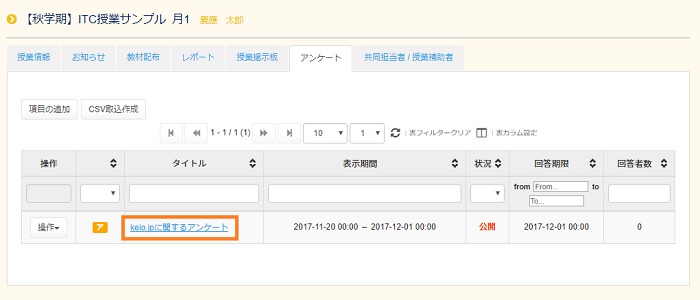
Click the title of the Questionnaire that is the original from among registered Questionnaires.
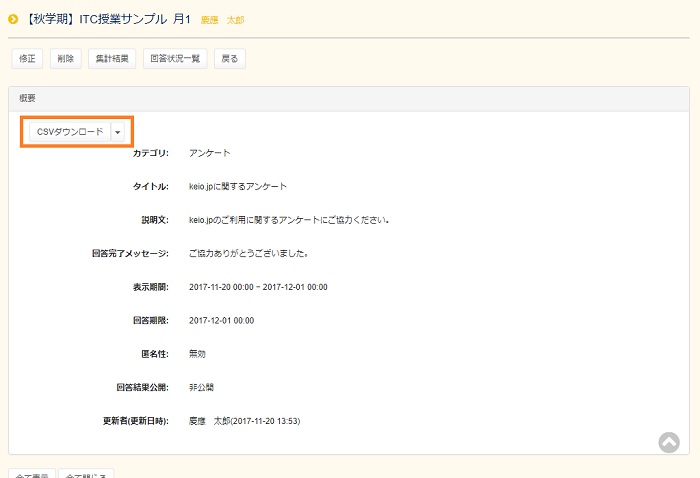
The [Details] screen opens.Click the [CSV download] button on the upper right of the screen.
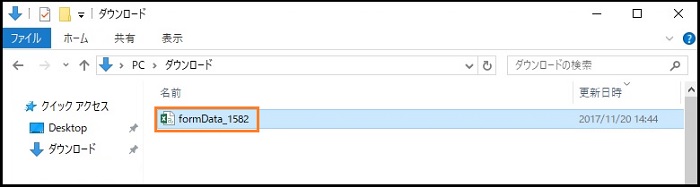
After a message asking whether to open or save the file is displayed, select [Save].

It can be saved at an optional location.Select [Open the folder].
After down-loading, edit the file and import the CSV.For the procedure, see “Import CSV”
Last-Modified: October 25, 2019
The content ends at this position.