


- Top >
Configuration for WinSCP
Table of Contents
Downloading WinSCP
-
Click on the link below.
Installation Package: winscp432setupintl.exe (Download)
Although the file name may differ in the explanation below, the installation method is basically the same. In such a case, please follow the procedure with a different file name.Website: http://winscp.net/
-
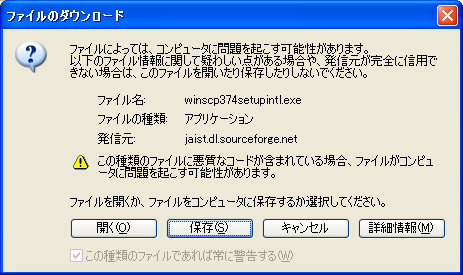
In the Download File screen, select “Save”.
-
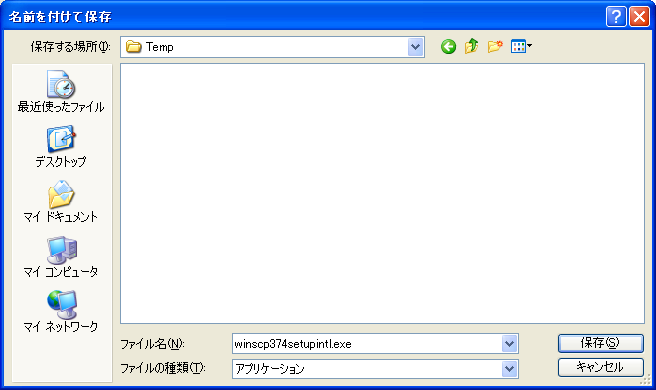
In the Save As dialog, specify an arbitrary location (e.g. C:\Temp) and save.
-
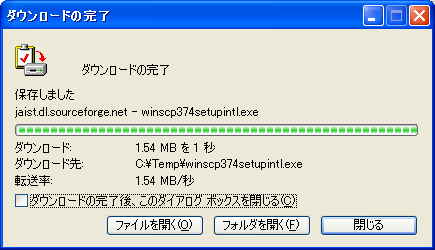
When the download is completed, click “Close” to close the window.
Installing WinSCP
-
Launch the downloaded winscp374setupintl.exe.

-
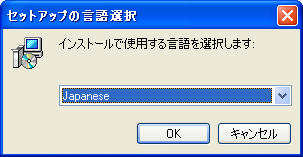
In the Select Setup Language dialog, select the desired language (here, we will select “Japanese”) and click “OK”.
-
In the Setup screen, click “Next”.

-
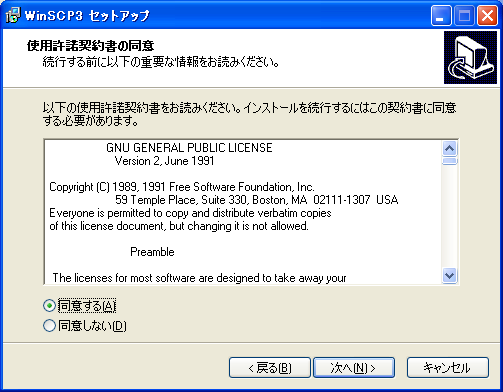
In the License Agreement dialog, select “Accept” if you agree to the terms of the license agreement, and click “Next”.
-
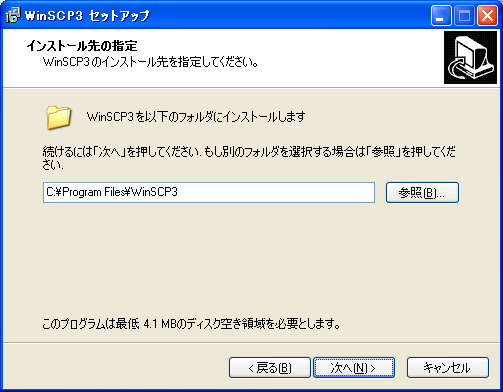
To install the product in the default location, click “Next”.
-
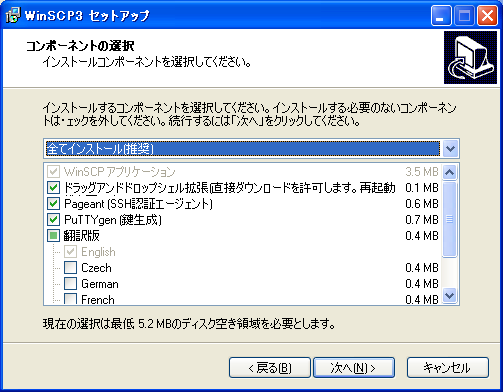
In the Select Components dialog, click “Next” if you are satisfied with your selections.
-
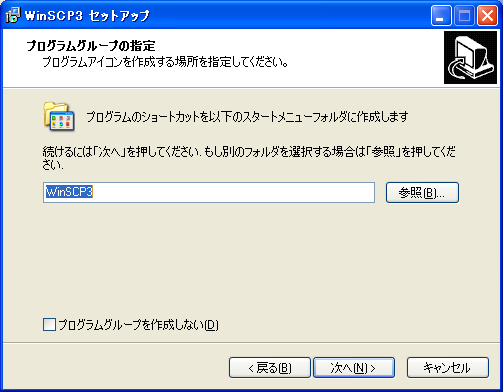
When prompted to specify the start menu folder where the shortcut is to be installed, click “Next” if you accept the default settings.
-
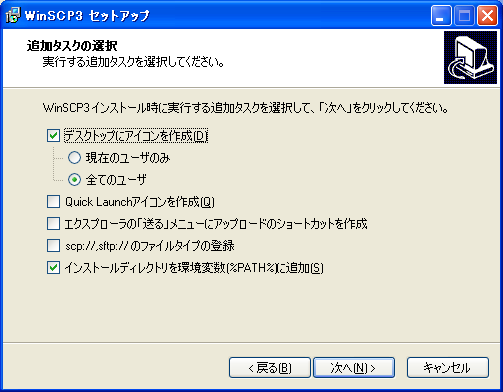
When prompted to confirm if the desktop icon should be created, click “Next” if you accept the default settings.
-
In the Initial User Settings dialog, review your installation settings and click “Next”.
(This procedure uses the Norton Commander interface.)
-
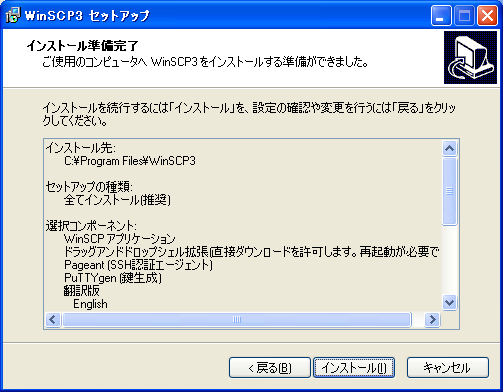
In the Ready to Install dialog, click “Install” to begin installation.
-
In the Setup Wizard Complete dialog, uncheck the “Launch WinSCP” box and click “Finish”.
(If the box is ticked when clicking “Finish”, WinSCP will start).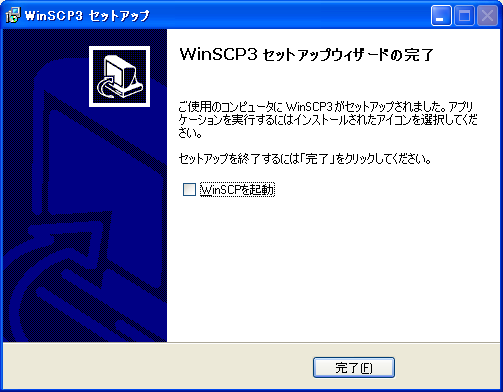
Last-Modified: July 13, 2011
The content ends at this position.